Starting an online business means more than installing a plugin. You need a clear offer, a store that can take money safely, and a sequence you can finish without getting lost in settings.
Here’s how to start an online business using WooCommerce — from the decisions that matter before you build, through WordPress and store setup, to a launch checklist you can trust.
Why WooCommerce works for a new online business
WooCommerce is the ecommerce layer for WordPress. You own the site, the customer data, and the stack you grow on. The core plugin is free; you pay for hosting, a domain, payment processing fees, and any extensions you choose later.
That model suits founders who want:
- Control — themes, checkout, catalogue rules, and custom workflows without renting a locked SaaS template forever.
- Flexibility — physical products, digital downloads, services, subscriptions, bookings, and more (some via extensions).
- Room to grow — move hosts, hire a developer, or add Marketplace extensions without starting from zero.
It is not the fastest “drag a theme and hope” experience. You (or your host) run WordPress. In return, you get a real store foundation instead of a rented shopfront.
Get the business basics right before you build
Skipping this step is how people end up with a beautiful store and nothing worth selling.
Know who you are selling to
Be specific. “Pet owners who commission art” is usable. “Everyone online” is not.
Spend time where that audience already talks — forums, Reddit, Facebook groups, niche Discords — and listen for problems they already pay to solve. If you can, talk to a handful of people before you buy inventory.
Choose what you will sell
Most new WooCommerce stores fall into one or more of these:
| Offer type | Good when… | Watch out for… |
|---|---|---|
| Handmade / made-to-order | You control quality and margins | Scaling production |
| Stocked physical goods | You want faster fulfilment | Cash tied up in inventory |
| Digital products | Low fulfilment cost | Support and piracy expectations |
| Dropshipping / print-on-demand | You want to test demand first | Margins, quality, shipping speed |
| Services or bookings | Your expertise is the product | Calendar capacity and no-shows |
You can mix types later. For launch, pick one primary offer you can deliver reliably.
Price with costs in mind
Include materials or wholesale cost, payment fees, packaging, shipping (if you absorb any), software, and your time. Then check whether your audience will pay that price. If the maths only works at volume you cannot fulfil yet, revise the offer before you go live.
Legal, tax, and banking (high level)
Rules depend on where you live and what you sell. This section is general guidance, not legal or tax advice. At a minimum, plan to:
- Choose a business structure that fits your risk and tax situation (seek local professional advice).
- Separate business and personal money with a business bank account.
- Understand whether you must charge sales tax / VAT / GST and where.
- Check licences for regulated products (alcohol, CBD, and similar categories vary by jurisdiction).
WooCommerce can calculate tax rates and process payments; it cannot decide your legal obligations for you. When in doubt, talk to an accountant early.
Start a WooCommerce store: domain, hosting, WordPress
Before you start
Have ready:
- A business name (or shortlist) and preferred domain
- A rough idea of what you will sell first
- Access to an email address you will use for the store and payment provider
- Time to complete a real test order before marketing spend
1. Buy a domain
Pick a name that is easy to spell and say aloud. Prefer a clean .com or your country’s TLD if that is what customers expect. Avoid numbers and creative spellings that force customers to guess.
2. Choose hosting built for WordPress
Hosting is the decision that is hardest to undo. For most first stores, prefer managed WordPress hosting with:
- Easy WordPress install (or WordPress preinstalled)
- Free SSL (HTTPS)
- Automatic backups you can restore
- Support that knows WordPress and WooCommerce
- A path to scale (more resources without a full migration on day one)
Cheap shared hosting that “supports WordPress” often struggles under checkout traffic, plugin updates, and caching edge cases. You do not need the most expensive plan on day one — you do need a host that treats WooCommerce as normal, not an afterthought.
Official WooCommerce guidance on building a store starts with the same foundation: domain, hosting, WordPress, then WooCommerce — see How to build an online store on WooCommerce.
3. Install WordPress
Most hosts offer one-click WordPress. Complete the install, log in to wp-admin, and set a strong admin password (and two-factor authentication if your host or a security plugin supports it).
4. Install and set up WooCommerce
- Go to Plugins → Add New.
- Search for WooCommerce.
- Click Install Now, then Activate.
- Run the onboarding flow (Set up my store when prompted).
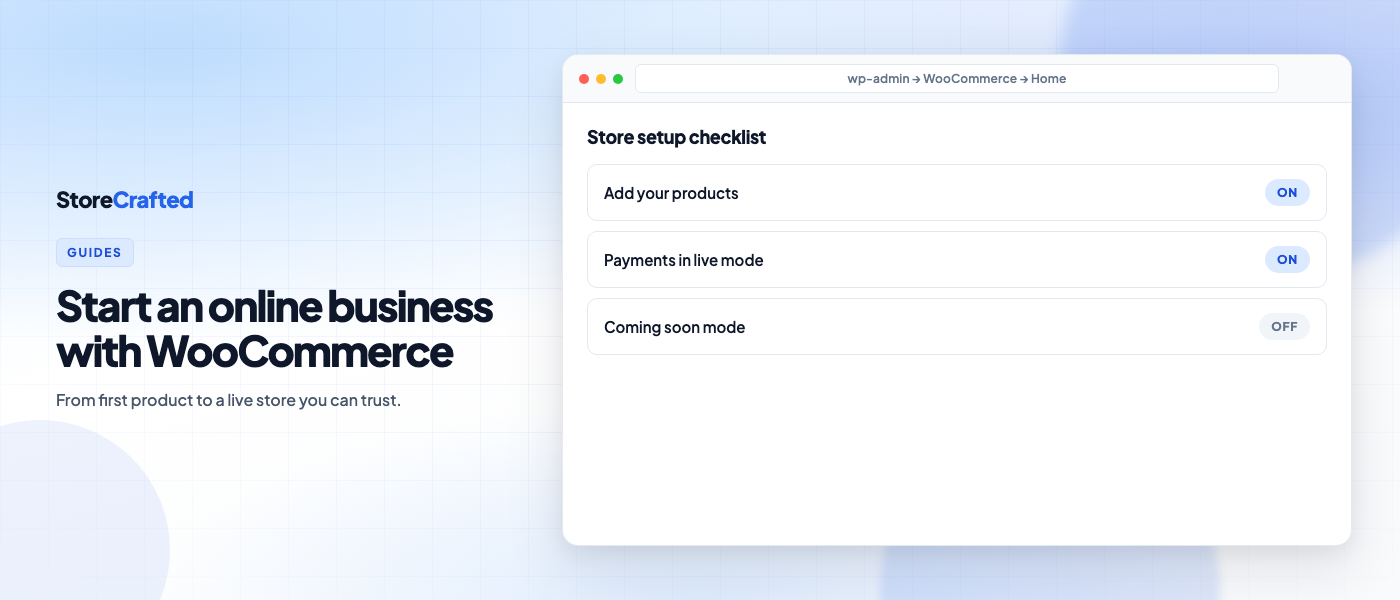
At the time of writing, the wizard collects store location, product types, and similar basics, then takes you to a Home setup checklist (products, payments, customise, tax, shipping when relevant, then launch). Follow that list — it exists so you do not forget payments or tax while polishing the homepage. The current flow is documented in the WooCommerce setup wizard guide.
5. Pick a WooCommerce-ready theme
Use a theme that is maintained, mobile-friendly, and explicitly compatible with WooCommerce. Block themes that work with the Site Editor are a solid default for new stores.
Questions worth asking before you commit:
- Does the demo look good on a phone?
- Can you change layout without custom PHP?
- Is the theme updated for current WordPress and WooCommerce releases?
Install from Appearance → Themes → Add New, or upload a premium theme if you already purchased one. You can refine design later — do not block launch on a perfect homepage.
Build an online store with WooCommerce
With WordPress and WooCommerce running, build the minimum store that can take a real order.
Create the pages customers expect
WooCommerce usually creates Shop, Cart, Checkout, and My Account during setup. Add or refine:
- Home — what you sell and why someone should buy
- About — who is behind the brand
- Contact — how to reach you
- FAQ — shipping times, returns, sizing, digital delivery
- Policies — privacy, terms, refunds / returns, shipping
In many regions, privacy and consumer information pages are not optional. Publish clear policies before you take money.
Add your first products
Go to Products → Add New.
For a simple physical product, set:
- Name and short / long description
- Regular price (and sale price if needed)
- SKU and stock quantity if you track inventory
- Shipping weight and dimensions when rates depend on them
- Product image and gallery images
Use Variable products when customers choose size, colour, or similar attributes. Mark digital items as Virtual and Downloadable when there is nothing to ship.
Start with a small catalogue you can photograph and describe well. Ten clear products beat fifty thin ones.
Connect payments
Open WooCommerce → Settings → Payments.
Choose gateways your customers already use. Common options include WooPayments (where available in your country), Stripe, and PayPal. Compare:
- Fees and payout timing
- Whether checkout stays on your site
- Currencies and payment methods (cards, wallets, buy now, pay later)
- Recurring payments if you will sell subscriptions later
Complete verification with the provider before launch. Then run a real small purchase and refund it — sandbox-only testing still leaves live-mode surprises.
Configure tax
If you charge tax:
- Enable tax calculations under WooCommerce → Settings → General (Taxes and coupons → Enable tax rates and calculations).
- Configure rates under WooCommerce → Settings → Tax, or use an automated tax option from the setup checklist where it fits your region.
WooCommerce documents how the software calculates tax — not what you are legally required to charge. See Setting up taxes in WooCommerce for settings; confirm obligations with a tax professional.
Set shipping and fulfilment
If you sell physical goods, decide how orders leave the building:
- Ship yourself from home or a small warehouse
- Use a 3PL later
- Use dropshipping or print-on-demand partners (accept less control)
In WooCommerce, set shipping zones and methods (flat rate, free shipping thresholds, local pickup, live carrier rates via extensions). Test checkout with addresses in each zone you claim to serve.
Packaging matters too: protect fragile goods, and treat the unboxing as part of the brand if you can afford it.
WooCommerce setup checklist before you go live
Use our free WooCommerce store checklist plugin as your last pass before you turn off Coming soon.
Catalogue and content
- Product titles, prices, and images are correct
- Variations select and add to cart as expected
- Categories and navigation make sense on mobile
- About, contact, FAQ, and policy pages are published
- Store email address is correct in WooCommerce → Settings → General
Payments and orders
- Payment gateway is in live mode (not test/sandbox)
- A real test purchase completes and appears under WooCommerce → Orders
- A refund works end to end
- Customer and admin emails send (check spam; fix SMTP if needed)
- Failed payment shows a clear error, not a blank page
Tax, shipping, and fulfilment
- Tax displays correctly for sample addresses
- Shipping rates appear for every zone you serve
- Free shipping rules (if any) trigger at the right cart total
- You know who packs, who ships, and how long you quote customers
Security and operations
- Site loads over HTTPS everywhere (especially checkout)
- WordPress, WooCommerce, theme, and plugins are updated
- Admin users use strong passwords; remove unused accounts
- Backups exist and you know how to restore them
- Coming soon / maintenance mode is ready to turn off when you launch
When those pass, use WooCommerce’s Launch your store task (or your host’s equivalent) to take the store public.
Market enough to get your first sales
You do not need every channel on day one. You need a repeatable way for the right people to find you.
Start with a small mix:
- SEO basics — clear product titles, unique descriptions, sensible internal links, and SEO titles/descriptions in Rank Math (or your SEO plugin) that match what you sell.
- Email — capture permission to follow up; abandoned cart and order emails are table stakes once volume grows.
- One social or community channel — wherever your audience already is, show the product and the person behind it.
- Paid ads — only after checkout, shipping, and fulfilment are proven with real test orders.
Content on your own WordPress site (guides, FAQs, behind-the-scenes) compounds. Paid traffic on a broken checkout does not.
Start here this week
You now have a practical path for how to start an online business using WooCommerce: lock the offer, stand up WordPress and WooCommerce, configure products and money movement, then launch against a checklist — not a hope.
If you do only three things next:
- Write one sentence for who you serve and what you sell.
- Get WordPress + WooCommerce on solid hosting with SSL.
- Complete one live test order and refund before you spend on ads.
From there, improve the storefront, add the extensions you truly need, and keep fulfilment promises boringly reliable. That is how an online business on WooCommerce actually starts — and stays open.